Here’s a step-by-step guide:
1) Safety Precautions:
Before beginning any maintenance or cleaning, ensure the rotary dryer is disconnected from its power source and is properly locked out and tagged out to prevent accidental startup.
Use appropriate personal protective equipment (PPE) such as gloves, safety glasses, and dust masks.
2) Cool Down:
Allow the rotary dryer to cool down if it has been recently operating. This will prevent burns and make cleaning safer.
3) Empty the Dryer:
Remove all remaining materials and products from the dryer to ensure a thorough cleaning process.
4) Remove Access Panels:
Open any access panels or doors that provide you with access to the internal components of the rotary dryer. This may involve removing bolts or latches.
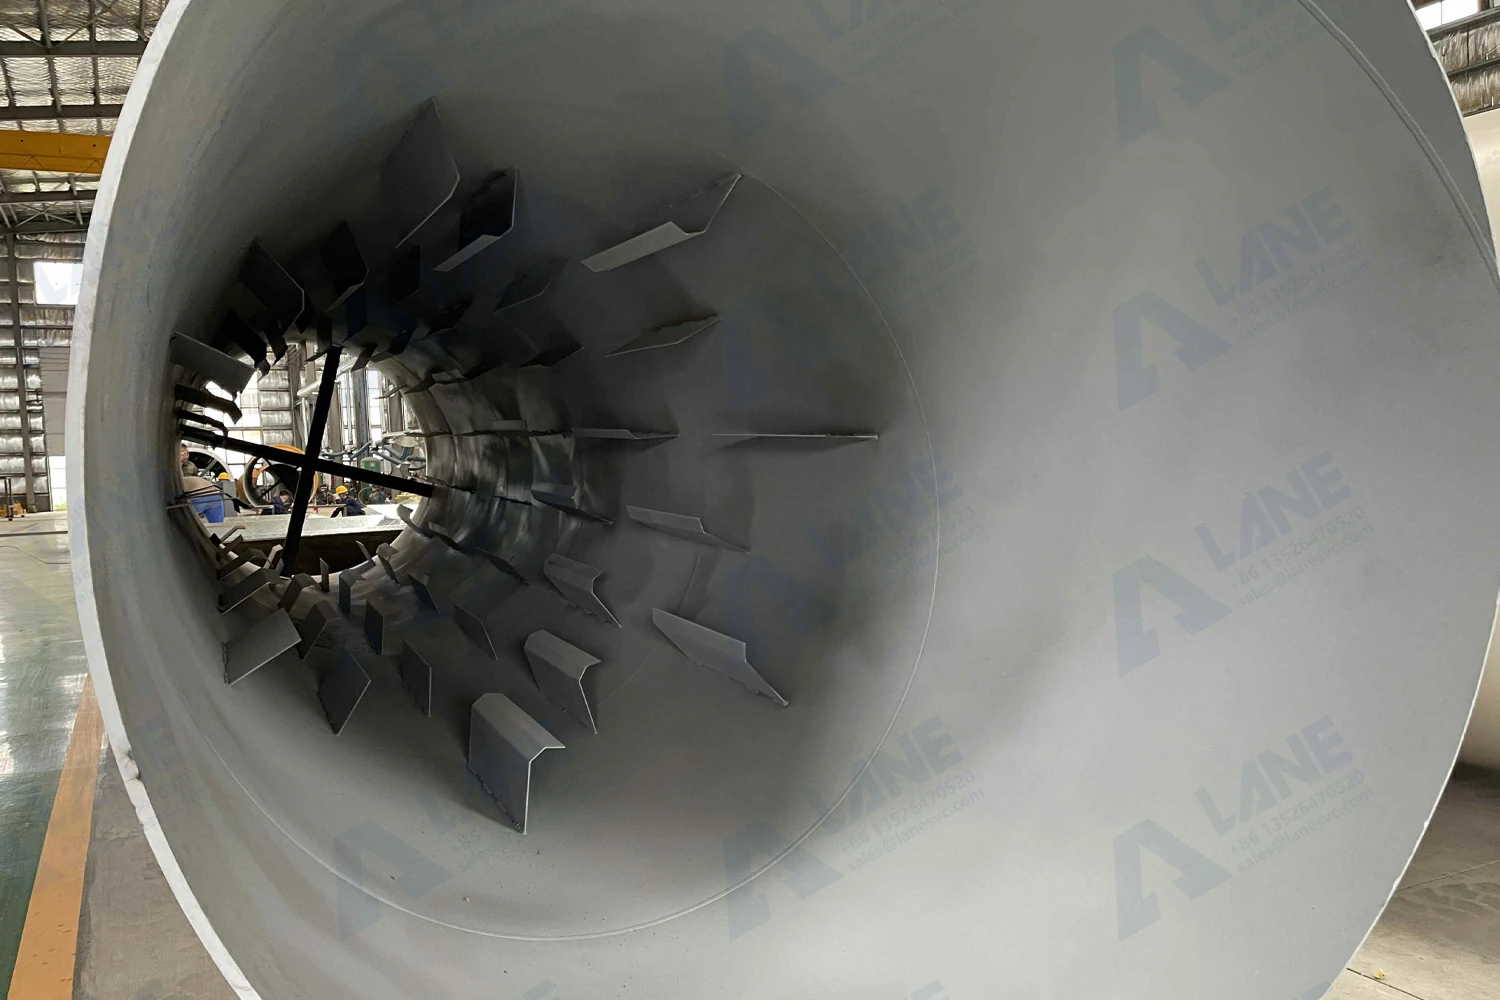
5) Scrape Debris:
Using appropriate tools, carefully scrape off any debris, residue, or buildup on the interior surfaces of the drum, flighting (the spiral vanes that move the material), and other components. Be cautious not to damage the surfaces during scraping.
6) Vacuum and Air Blow:
Use industrial vacuum cleaners with HEPA filters to remove fine dust and particles that cannot be easily scraped off. Pay close attention to corners, crevices, and hard-to-reach areas.
Follow up with an air compressor or air blower to dislodge and remove any remaining dust.
7) Brushing:
Use soft-bristle brushes to clean sensitive areas, especially those that cannot be scraped or vacuumed. Avoid using abrasive materials that could damage the equipment.
8) Wash with Water and Detergent (If Applicable):
If the material being processed has left sticky residues, you may need to wash the interior with a mixture of water and a mild detergent. Avoid excessive water usage, as this can lead to corrosion of metal parts.
9) Inspect and Lubricate:
While the rotary dryer is open, inspect the components for any signs of wear, damage, or malfunction. Replace any worn parts.
Lubricate moving parts as per the manufacturer’s recommendations.
10) Reassemble:
Once the cleaning and inspection are complete, carefully reassemble any access panels, doors, or components that were removed.
11) Final Check:
Double-check that all access points are securely closed and fastened.
Ensure that no tools or cleaning equipment have been left inside the rotary dryer.
12) Dispose of Waste Properly:
Dispose of any collected debris, residues, or cleaning materials according to environmental regulations and guidelines.

13) Document and Report:
Keep a maintenance log detailing the cleaning activities performed, any parts replaced, and the overall condition of the equipment. This can help with future maintenance and troubleshooting.
The rotary dryer can reduce the moisture of the higher moisture fertilizer particles to prevent subsequent packaging and storage of caking and sticking, which is very good to improve the quality of fertilizer production, and plays an important role in the fertilizer production line.
If you have other questions or needs, please feel free to contact us!


